
I adore this recipe because it’s the perfect blend of tangy, sweet, and spicy, and it elevates any dish with minimal effort. Plus, there’s something irresistible about the alchemy of pickling that transforms humble garlic cloves into a flavorful, addictive snack—I can put it on everything from avocado toast to ramen!

I adore the fascinating equilibrium of tastes in Thai Pickled Garlic. The blend of rice vinegar and granulated sugar produces a brine that is both sweet and tangy and that infuses each clove of garlic with that uniquely assertive flavor.
(Garlic is one of my favorites, in case you didn’t notice.) The brine is still pretty mild, though, compared to the deliciously pronounced flavor that pickling imparts to the garlic. With its bold taste (not to mention optional heat from true Thai red chilies), this dish is rich in antioxidants and has great digestive benefits.
Ingredients
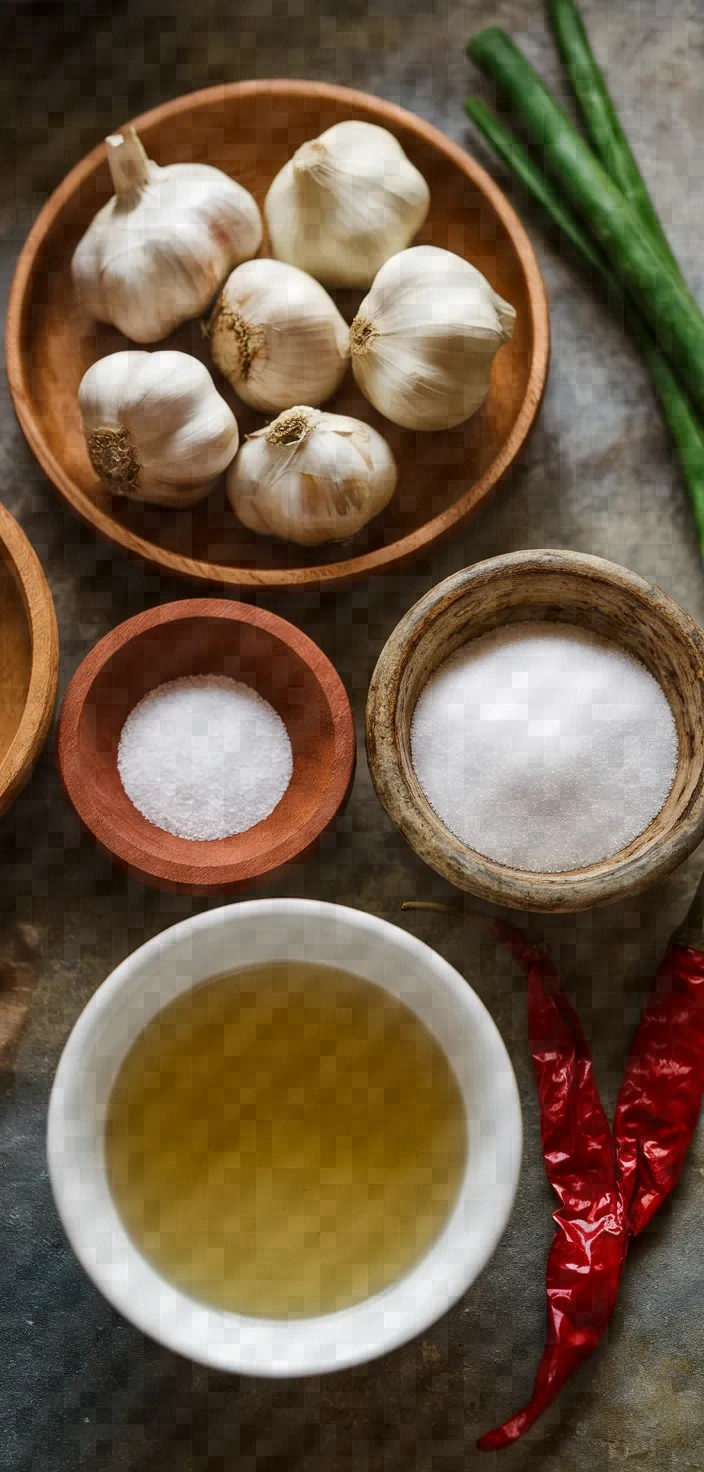
- Garlic cloves: Rich in antioxidants, adds pungent flavor.
- Rice vinegar: Provides tangy sourness, low in calories.
- Granulated sugar: Adds sweetness, balances vinegar’s acidity.
- Salt: Enhances flavor, acts as a preservative.
- Dried Thai red chilies: Optional heat, boosts metabolism.
Ingredient Quantities
- 1 cup peeled garlic cloves
- 1 cup rice vinegar
- 1 cup water
- 1/2 cup granulated sugar
- 1 tablespoon salt
- 2 dried Thai red chilies (optional)
Instructions
1. Begin by sterilizing a glass jar that has a lid which fits tightly, and this can readily be achieved by boiling the jar in water for around 10 minutes. Once this is completed, allow the jar to dry in full before proceeding with any further steps.
2. In a medium saucepan, mix the rice vinegar, water, granulated sugar, and salt over medium heat.
3. Mix the constituents until the sugar and salt are fully dissolved. Remove from heat and let it cool slightly.
4. Stuff the peeled garlic cloves into the clean jar.
5. Add the dried Thai red chilies to the jar with the garlic if you want it to have a bit of heat.
6. Vinegar mixture cooled slightly; pour it over the garlic and chilies. Make certain everything is submerged fully.
7. Gently tap the jar on the counter to let any trapped air bubbles out.
8. Tightly seal the jar with the lid. Store the jar in a place that is cool, dark, and at room temperature.
9. Let the garlic sit in the brine for at least a week for the best flavor.
10. After opening, keep the jar in the refrigerator and savor the pickled garlic within three months for peak flavor.
Equipment Needed
1. Large pot (for sterilizing the jar)
2. Tongs or jar lifter (for handling the hot jar)
3. Medium saucepan
4. Measuring cups
5. Measuring spoons
6. Stirring spoon
7. Clean glass jar with a tight-fitting lid
8. Ladle or heat-resistant funnel (optional, for pouring brine)
9. Towel or drying rack (for drying the sterilized jar)
FAQ
- Q: Can I use other types of vinegar instead of rice vinegar?Rice vinegar provides an authentic flavor that is difficult to replicate with other vinegars. However, if you don’t have rice vinegar, you can use apple cider vinegar or white vinegar instead; just be aware that they will impart a different flavor to whatever you are making.
- Q: How long should the garlic be pickled before it’s ready to eat?A: Pickled garlic is generally good to eat after one week, but for truly outstanding flavor, let it bathe in the brine for at least two weeks.
- Q: Can I omit the sugar for a sugar-free version?You can reduce or leave out the sugar, but it might change the taste quite a bit. If you want to make the dish a bit healthier, consider a substitute. Don’t let sugar make you cry! Or, do let it sugar and cry!
- Q: How long can I store the pickled garlic?A: Pickled garlic can last up to 3 months when stored in a sterilized jar and kept in the refrigerator.
- Q: Are the dried Thai red chilies necessary?A: The optional chilies add a mild heat. If you prefer a non-spicy version, feel free to leave them out.
- Q: Can I use fresh chilies instead of dried ones?A: Yes, you can use fresh chilies instead, but they could contribute a lot more moisture and heat compared to dried chilies.
Substitutions and Variations
Vinegar made from rice: Vinegar made from apple cider or from white vinegar.
Sugar, granulated: Honey or coconut sugar.
Salt can be classified into two major types, each further delineated into subtypes. The two primary types are: Sea salt or kosher salt.
Dried Thai red chilies. Crushed red pepper flakes. Fresh Thai bird’s eye chilies.
Pro Tips
1. Garlic Preparation: To make peeling garlic easier, crush the cloves slightly under the flat side of a knife before peeling. This will help release the skins and also enhance the flavor infusion.
2. Adjusting Spiciness: If you prefer spicier pickled garlic, you can lightly crush the dried Thai red chilies before adding them to the jar. This will release more of their oils and heat.
3. Balancing Flavor: Consider adding a few peppercorns or a bay leaf to the jar for additional depth of flavor. These spices will complement the vinegar and garlic well.
4. Cooling for Crispness: Ensure the vinegar mixture has cooled to room temperature before pouring it over the garlic. This helps maintain the garlic’s natural crispness.
5. Storage Tip: For long-term storage, consider sealing the jar in a water bath for 10 minutes to ensure a good seal, similar to traditional canning methods. This will help preserve the pickles for longer periods before opening.
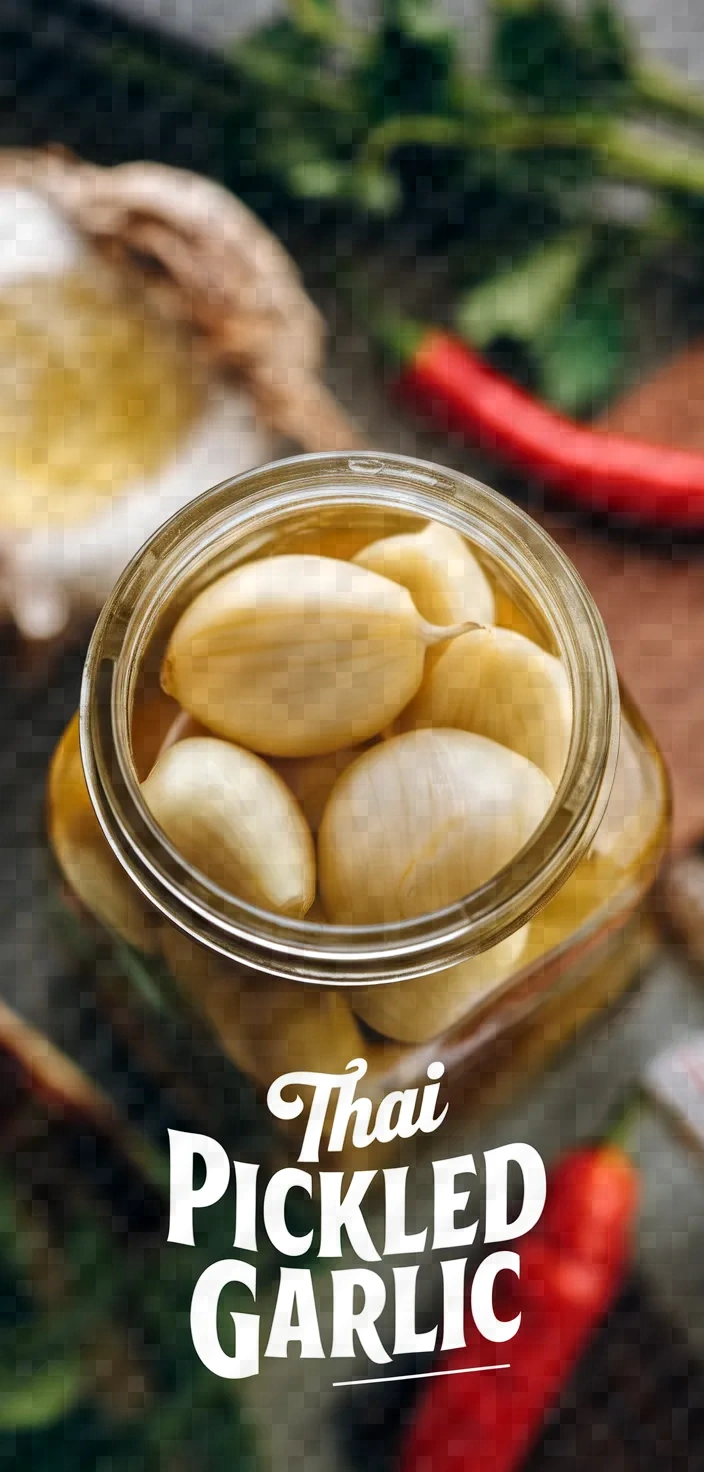
Thai Pickled Garlic Recipe
My favorite Thai Pickled Garlic Recipe
Equipment Needed:
1. Large pot (for sterilizing the jar)
2. Tongs or jar lifter (for handling the hot jar)
3. Medium saucepan
4. Measuring cups
5. Measuring spoons
6. Stirring spoon
7. Clean glass jar with a tight-fitting lid
8. Ladle or heat-resistant funnel (optional, for pouring brine)
9. Towel or drying rack (for drying the sterilized jar)
Ingredients:
- 1 cup peeled garlic cloves
- 1 cup rice vinegar
- 1 cup water
- 1/2 cup granulated sugar
- 1 tablespoon salt
- 2 dried Thai red chilies (optional)
Instructions:
1. Begin by sterilizing a glass jar that has a lid which fits tightly, and this can readily be achieved by boiling the jar in water for around 10 minutes. Once this is completed, allow the jar to dry in full before proceeding with any further steps.
2. In a medium saucepan, mix the rice vinegar, water, granulated sugar, and salt over medium heat.
3. Mix the constituents until the sugar and salt are fully dissolved. Remove from heat and let it cool slightly.
4. Stuff the peeled garlic cloves into the clean jar.
5. Add the dried Thai red chilies to the jar with the garlic if you want it to have a bit of heat.
6. Vinegar mixture cooled slightly; pour it over the garlic and chilies. Make certain everything is submerged fully.
7. Gently tap the jar on the counter to let any trapped air bubbles out.
8. Tightly seal the jar with the lid. Store the jar in a place that is cool, dark, and at room temperature.
9. Let the garlic sit in the brine for at least a week for the best flavor.
10. After opening, keep the jar in the refrigerator and savor the pickled garlic within three months for peak flavor.