
I absolutely love this recipe because it combines the fragrant aroma of pandan with the creamy richness of coconut milk, creating a nostalgic and tropical treat that reminds me of my childhood. Plus, making and sharing this refreshing jelly with friends just feels like the ultimate comfort and brings everyone together over a hit of sweet memories.
The bright, earthy flavor of pandan jelly appeals to me. When combined with wholesome coconut milk, it results in a delicious dessert that offers a good portion of plant-based nutrition.
The leaves of the pandan plant are loaded with antioxidants, while coconut milk is a good, clean source of fats. My recipe is all about the bright, earthy flavor of pandan—if you can find it.
Ingredients
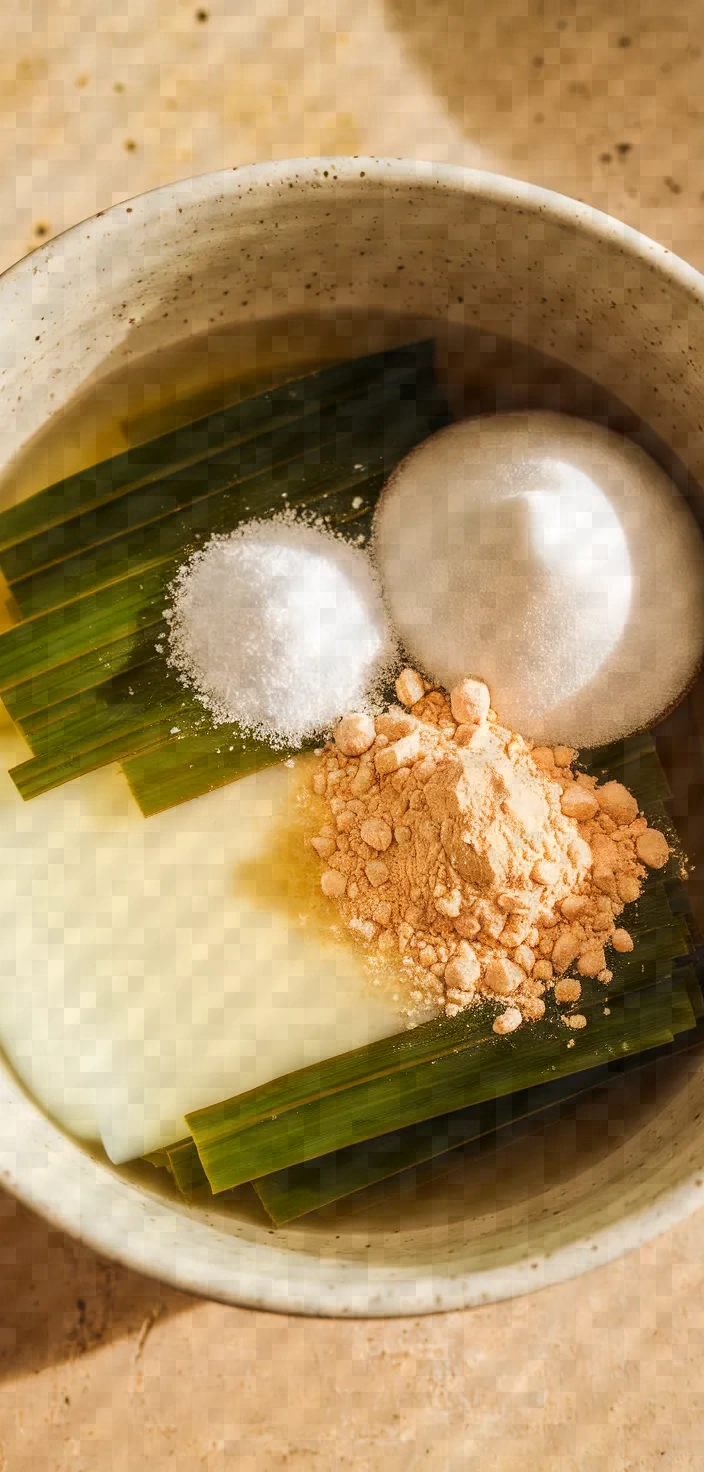
Juice of Pandan: Fragrant, imparts bright green color and delightful aroma.
Coconut milk: A texture that is rich and creamy, imparting natural sweetness and a tropical flavor.
H2O: Of utmost necessity for the gelling process, assists in properly and completely dissolving agar-agar.
Sugar: Sweetens, harmonizes, and balances the earthy pandan and rich coconut flavors.
Agar powder: Plant-based gelling agent that creates smooth, firm jelly texture.
Salt Is a flavor enhancer, an ingredient that can be made to do a lot of things, but Its regular function is to enhance flavor, to make the flavors you already have pop and sing.
It enhances the flavors of all your foods; even though people think of sweet flavors as the opposite of salty flavors, salt plays a huge role in making your sweet foods sweet.
Adding a little bit of salt to anything you eat is a really great way to make Its flavor even stronger.
Ingredient Quantities
- 1 cup pandan juice (from fresh pandan leaves)
- 1 cup coconut milk
- 1 cup water
- 1/2 cup sugar
- 1/2 cup agar-agar powder
- 1/4 teaspoon salt
Instructions
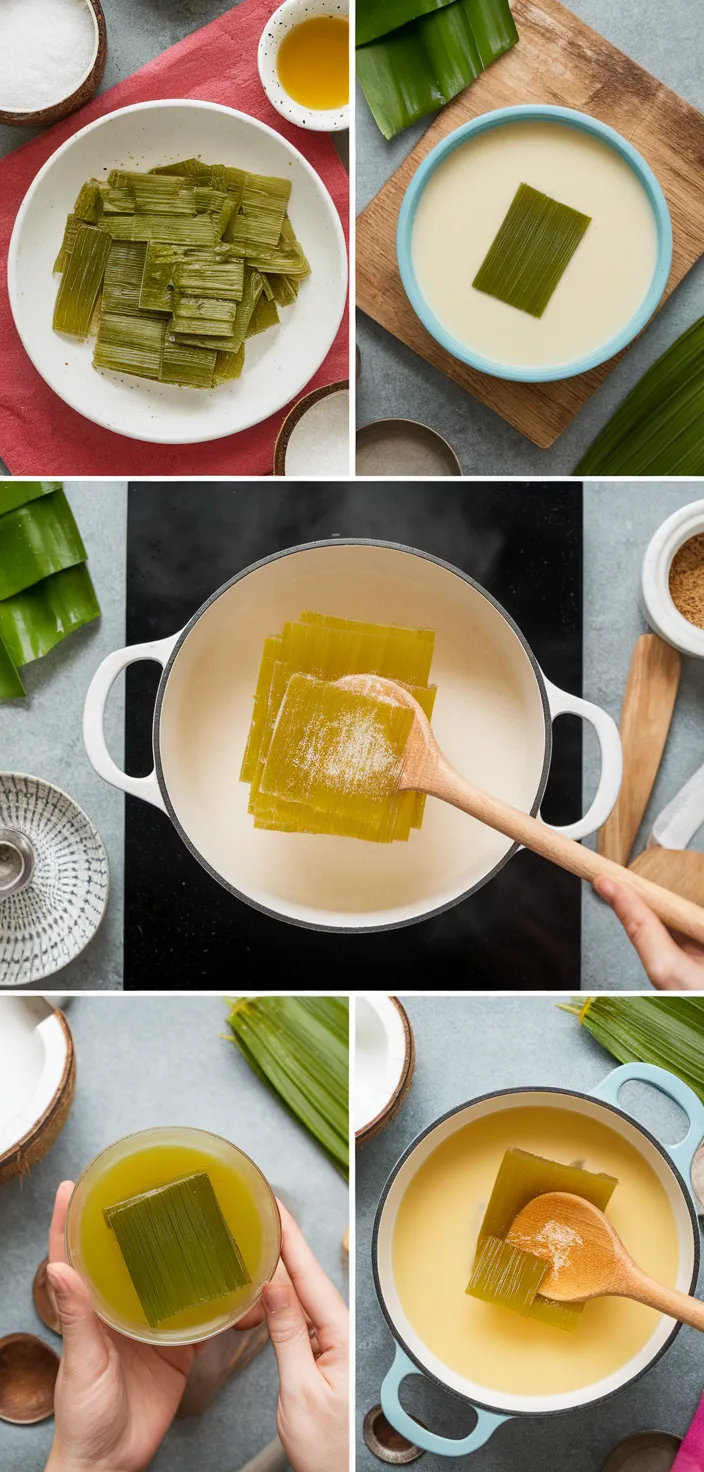
1. Rinse and chop 8-10 pandan leaves into tiny bits. Blend the pandan leaves with 1 cup of water until the mixture is smooth and homogenous. Strain the mixture using a fine mesh to filter out any residual solids and recover 1 cup of pandan juice.
2. In a pot of medium size, combine the pandan juice and agar-agar powder. Stir thoroughly until the powder dissolves completely.
3. Combine the coconut milk, sugar, and salt in the pot. Stir well to mix.
4. On medium heat, bring the mixture to a gentle boil in the pot while stirring constantly.
5. When the mixture begins to boil, decrease the heat and keep stirring until everything is completely dissolved. This should take about 5-7 minutes and requires constant attention.
6. Take the pot off the heat. Cool the mixture a little, but do not allow it to set.
7. Get a mold or a tray for the jelly and grease it with some oil. For easy removal of the jelly later, it is advisable to use a light coat of oil so that the jelly does not stick to the mold or tray. This is a basic tip with gelatin.
8. Transfer the heated solution into the waiting mold or tray. Use a spoon, or other small implement, to smooth the surface and remove any bubbles that might mar the final appearance of the finished piece.
9. Let the jelly cool for about 30 minutes at room temperature. After it has set, transfer it to the refrigerator. Allow the jelly to chill in there for at least 2 hours.
10. After it is set, take the jelly out of the mold, cut it into the shapes you want, and serve it very cold.
Equipment Needed
1. Cutting board
2. Knife
3. Blender
4. Fine mesh strainer
5. Medium-sized pot
6. Spoon or spatula for stirring
7. Mold or tray for jelly
8. Measuring cup
9. Measuring spoons
10. Oil brush or spray (for greasing the mold)
11. Refrigerator
12. Knife (for cutting the set jelly)
FAQ
- What is pandan juice, and how do I make it?The juice from pandan leaves is made using fresh leaves. Blend the leaves with a small amount of water, then strain and collect the juice.
- Can I use pandan extract instead of fresh pandan leaves?Certainly, pandan extract can be used, but its flavor might be more intense. You should adjust the quantity according to your taste.
- Is agar-agar the same as gelatin?Agar-agar is a gelling agent that comes from plants—it is derived from seaweed. Gelatin, on the other hand, comes from animals. When it comes to the really important part—what you can eat and what you can’t—both of them do the same job. But when it comes to the really important part—what you can eat and what you can’t—agar-agar is the gelling agent for vegetarians and vegans.
- Can I substitute agar-agar powder with agar-agar flakes?Certainly! You must modify how much you use. In general, one tablespoon of agar-agar flakes equals one teaspoon of agar-agar powder.
- How long does the pandan jelly take to set?Complete setting at room temperature usually takes around 1-2 hours. The process can be sped up by refrigerating the item.
- How do I store pandan jelly?Keep it in an airtight container in the fridge for as long as 3-4 days. No more than that.
Substitutions and Variations
Pandan juice: Swap with 1 cup of matcha tea for a flavor that’s totally different.
Coconut milk: Use 1 cup of almond milk or oat milk for a lighter option.
Sweeteners: As a health-conscious alternative to sugar, consider replacing it with one of the following:
– Honey
– Maple syrup
– Agave syrup
– Coconut nectar
These liquid sweeteners are more nutritious than sugar.
Agar-agar powder: Substitute with 1/2 cup gelatin to create a non-vegan alternative.
Salt: Use 1/4 teaspoon of sea salt or pink Himalayan salt for an enriched flavor.
Pro Tips
1. Enhance the Flavor: Consider adding a few drops of pandan extract to intensify the aromatic flavor if the pandan juice does not impart as strong a fragrance or taste as desired.
2. Coconut Milk Variations: For a richer taste, you can use full-fat coconut milk. If you prefer a lighter version, opt for reduced-fat coconut milk or dilute it with water.
3. Agar-Agar Activation: Ensure the agar-agar powder fully dissolves by stirring it into the room temperature liquid first before heating. This prevents clumping and ensures a smooth texture.
4. Layer for Visual Appeal: For a more visually appealing dessert, consider creating layers by pouring half of the mixture into the mold, letting it set slightly, and then pouring the remaining mixture on top.
5. Storage Tip: Once set, store the jelly in an airtight container if you’re not serving immediately. This will prevent it from absorbing flavors from other foods in the refrigerator.
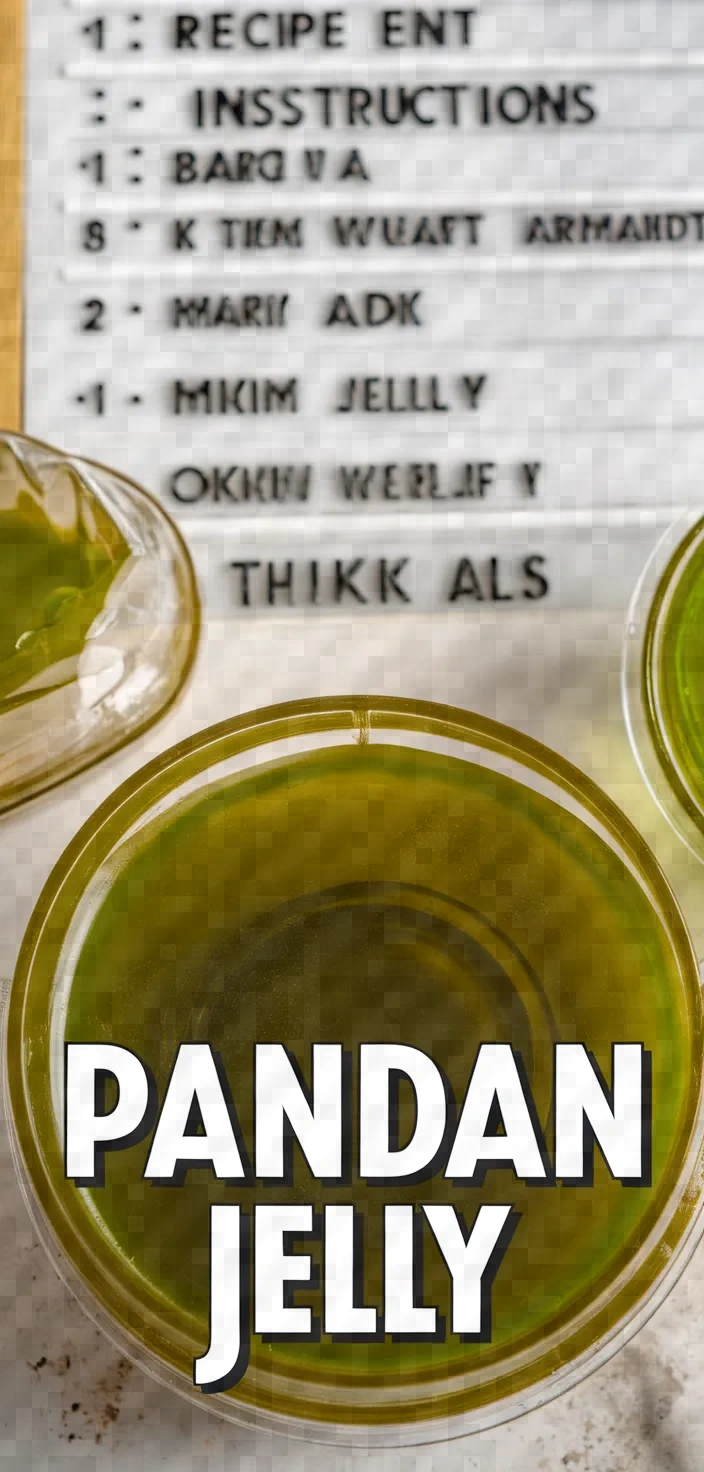
Pandan Jelly Recipe
My favorite Pandan Jelly Recipe
Equipment Needed:
1. Cutting board
2. Knife
3. Blender
4. Fine mesh strainer
5. Medium-sized pot
6. Spoon or spatula for stirring
7. Mold or tray for jelly
8. Measuring cup
9. Measuring spoons
10. Oil brush or spray (for greasing the mold)
11. Refrigerator
12. Knife (for cutting the set jelly)
Ingredients:
- 1 cup pandan juice (from fresh pandan leaves)
- 1 cup coconut milk
- 1 cup water
- 1/2 cup sugar
- 1/2 cup agar-agar powder
- 1/4 teaspoon salt
Instructions:
1. Rinse and chop 8-10 pandan leaves into tiny bits. Blend the pandan leaves with 1 cup of water until the mixture is smooth and homogenous. Strain the mixture using a fine mesh to filter out any residual solids and recover 1 cup of pandan juice.
2. In a pot of medium size, combine the pandan juice and agar-agar powder. Stir thoroughly until the powder dissolves completely.
3. Combine the coconut milk, sugar, and salt in the pot. Stir well to mix.
4. On medium heat, bring the mixture to a gentle boil in the pot while stirring constantly.
5. When the mixture begins to boil, decrease the heat and keep stirring until everything is completely dissolved. This should take about 5-7 minutes and requires constant attention.
6. Take the pot off the heat. Cool the mixture a little, but do not allow it to set.
7. Get a mold or a tray for the jelly and grease it with some oil. For easy removal of the jelly later, it is advisable to use a light coat of oil so that the jelly does not stick to the mold or tray. This is a basic tip with gelatin.
8. Transfer the heated solution into the waiting mold or tray. Use a spoon, or other small implement, to smooth the surface and remove any bubbles that might mar the final appearance of the finished piece.
9. Let the jelly cool for about 30 minutes at room temperature. After it has set, transfer it to the refrigerator. Allow the jelly to chill in there for at least 2 hours.
10. After it is set, take the jelly out of the mold, cut it into the shapes you want, and serve it very cold.